Custom Cape Exterior Renovation Part 3 – Wasco Skylight Installation
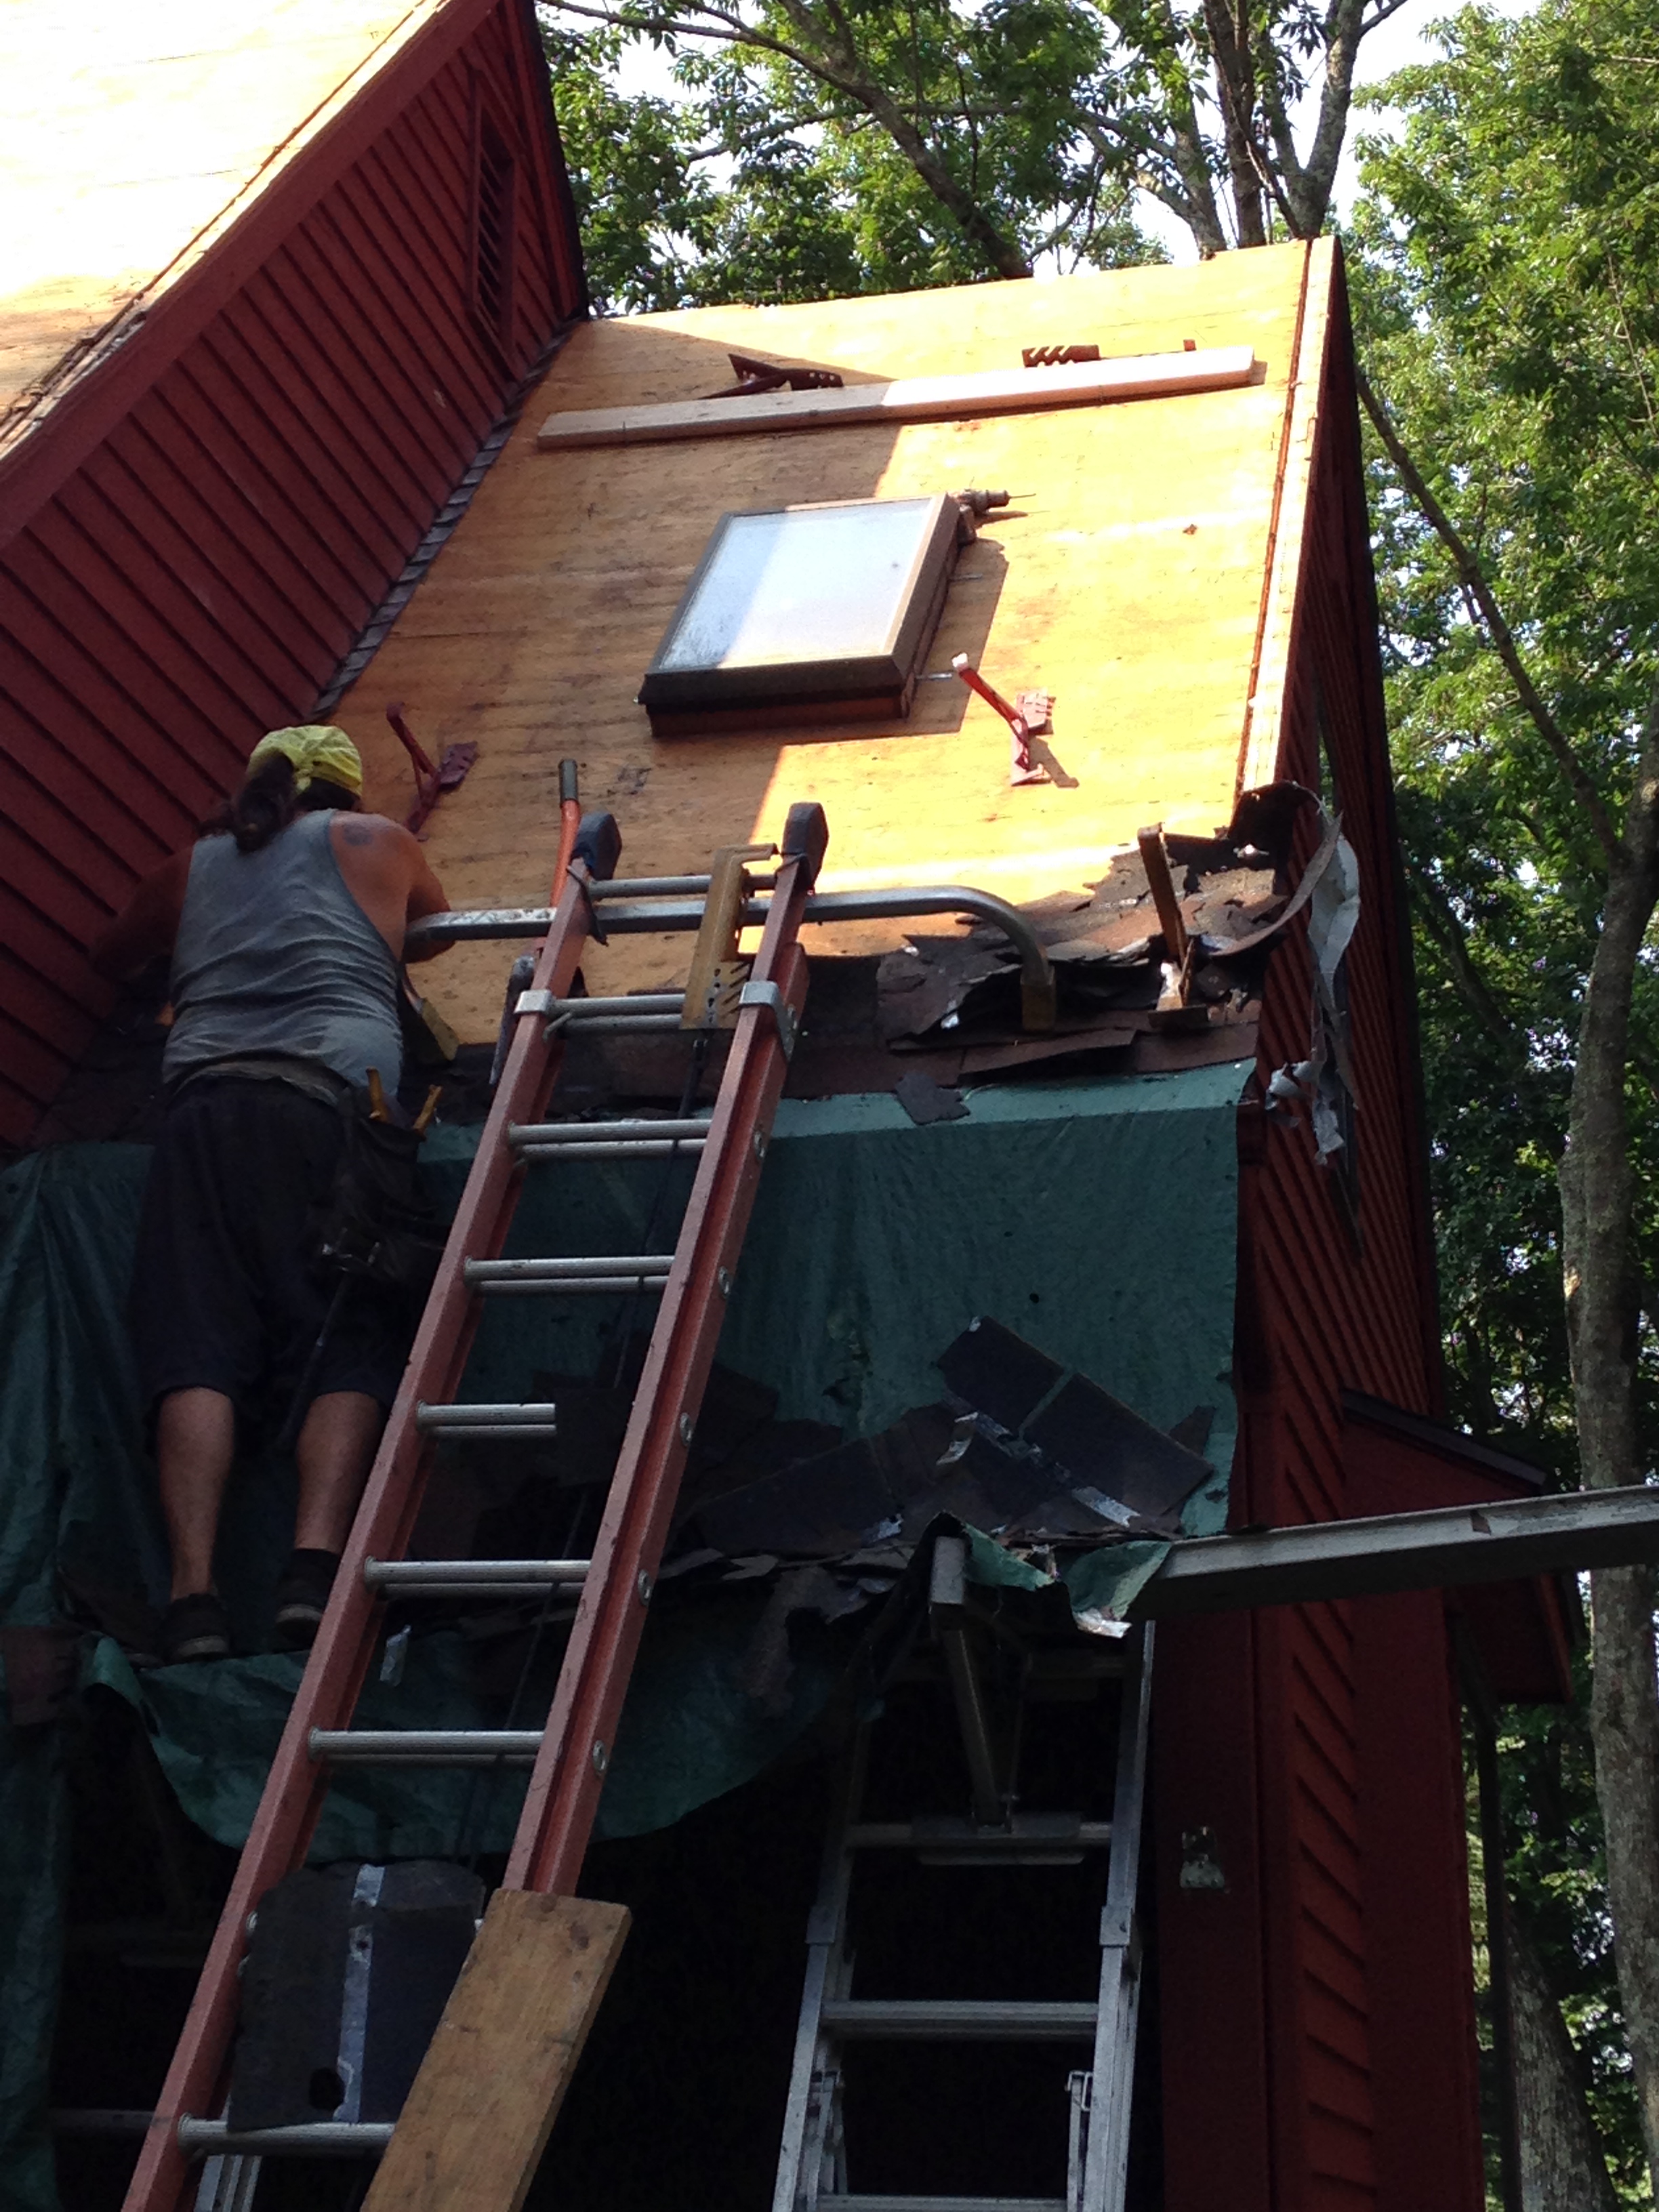
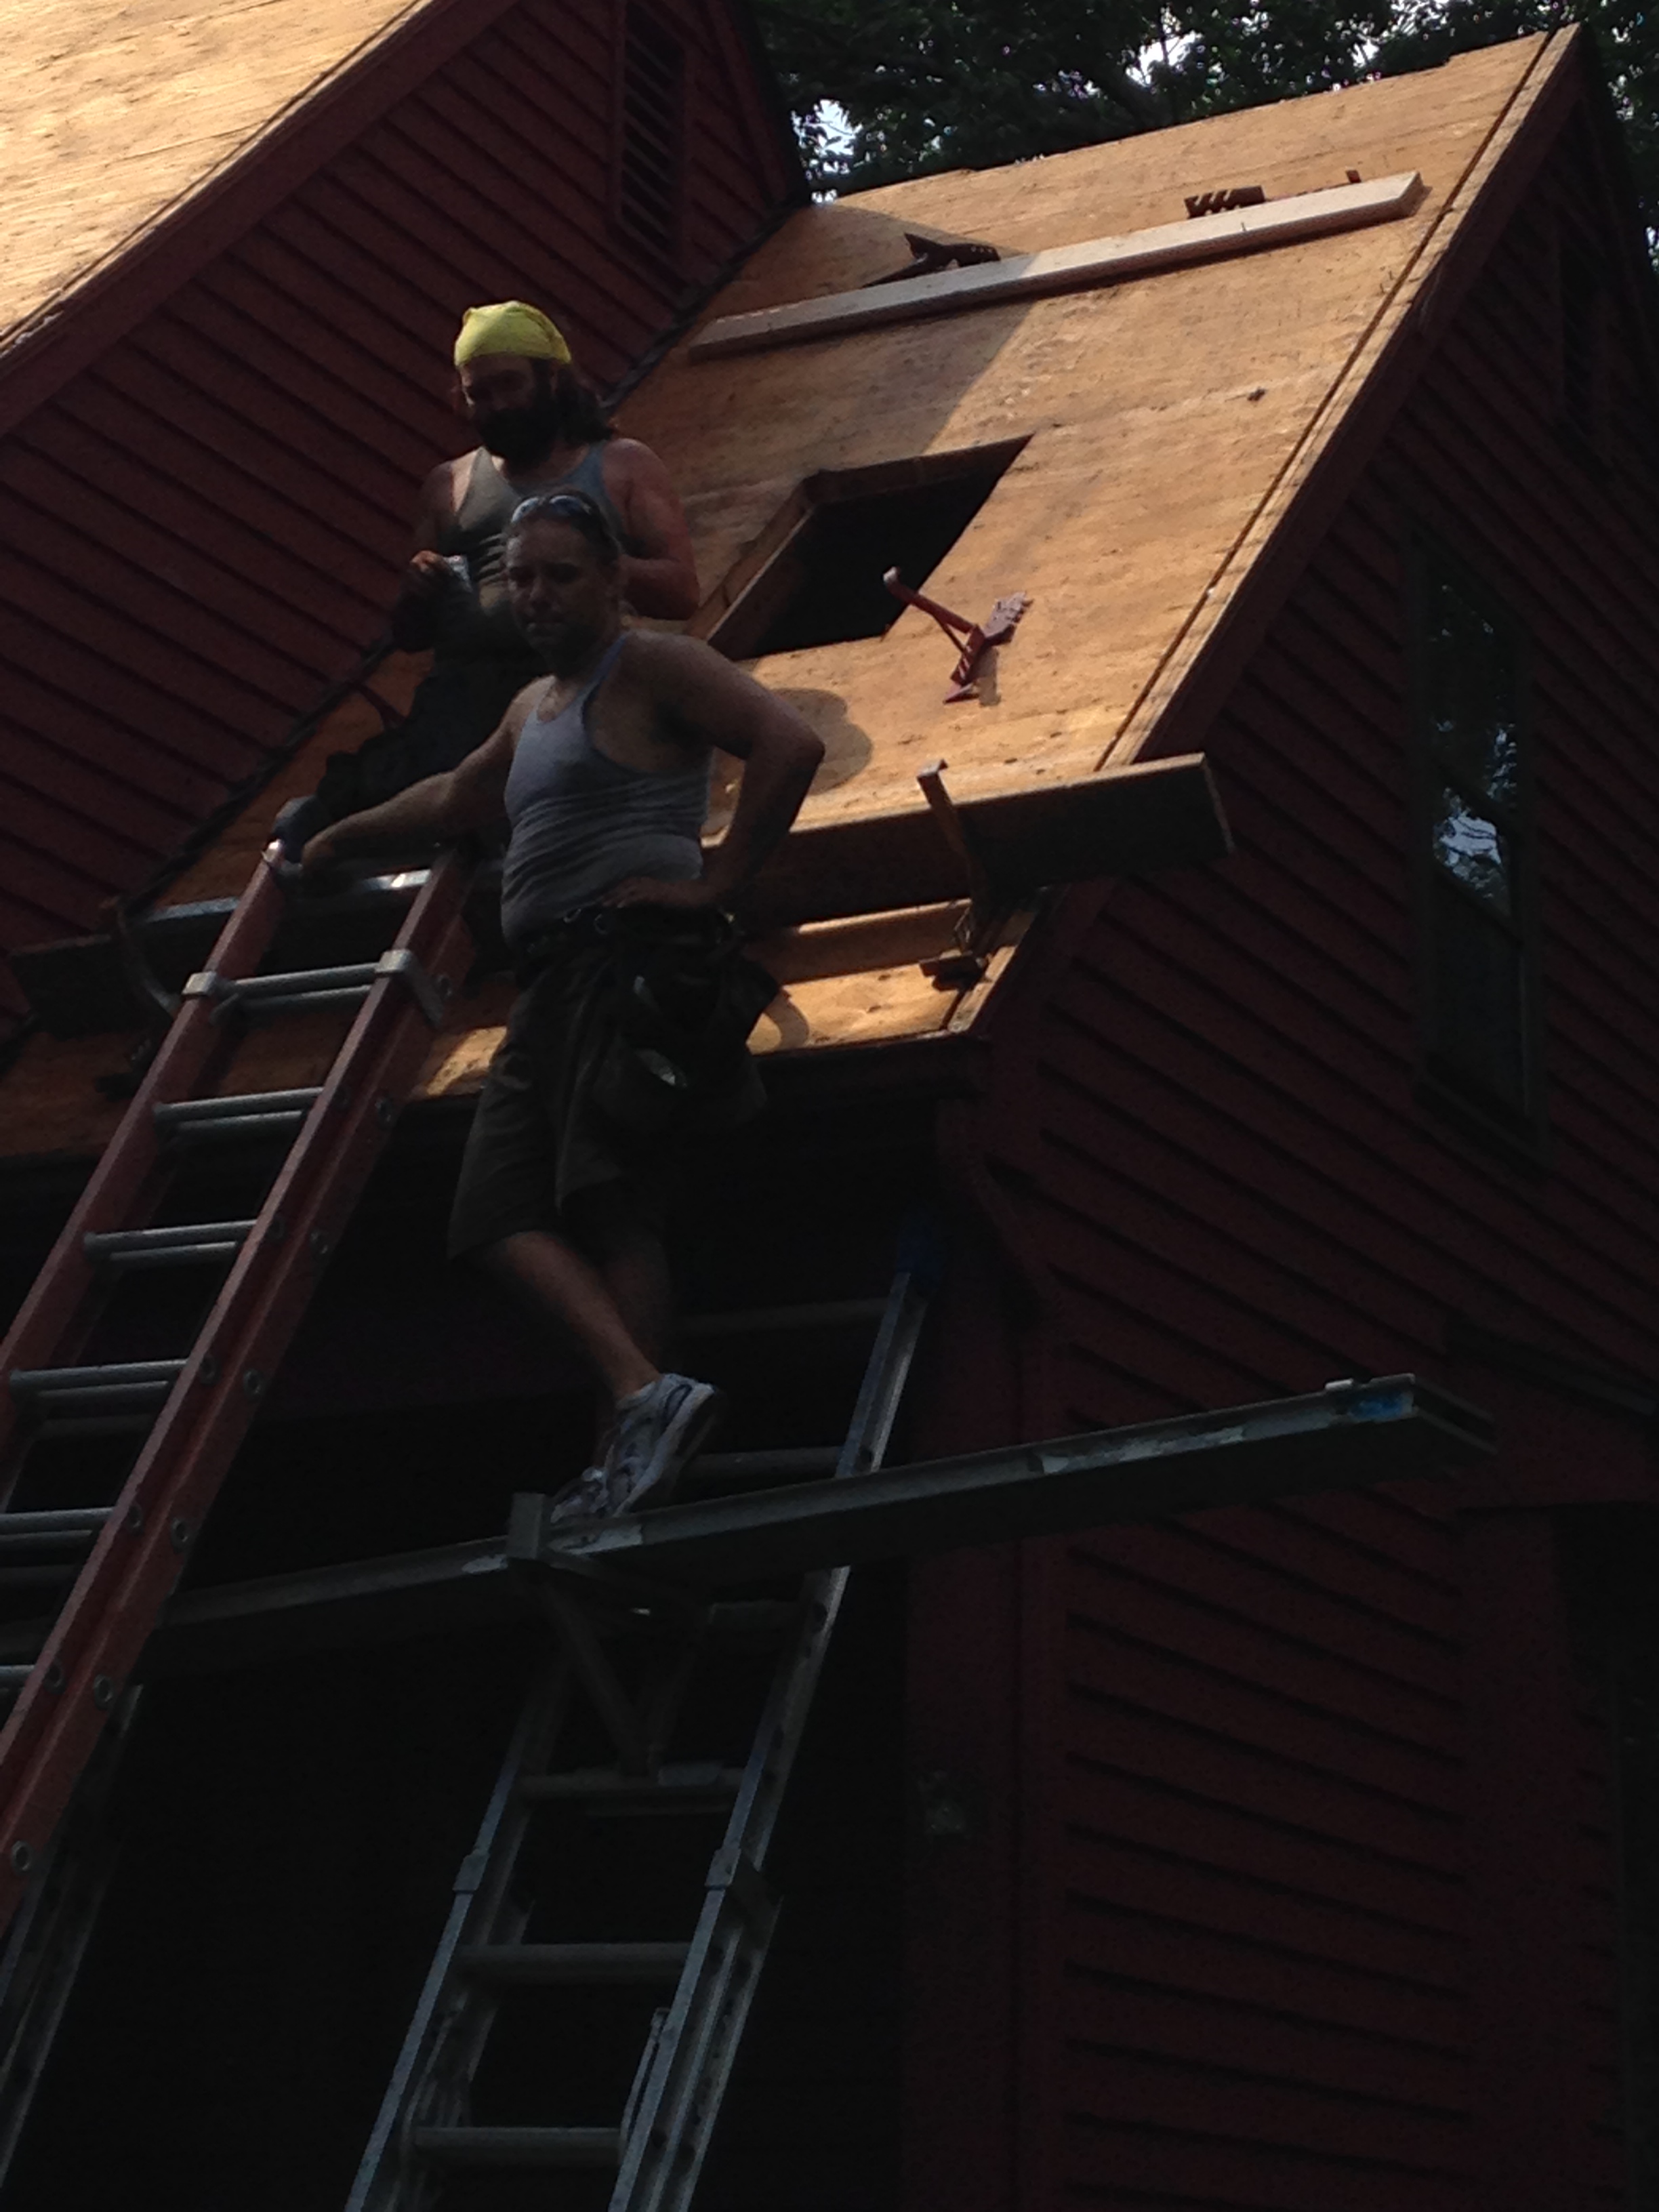
I do not think I can express how amazed I was by the speed and efficiency of the Sanville Remodeling crew. The crew set up, stripped and prepped both 12 pitch sections of the front roof prior to lunch. The guys are the definition of professionals and were a pleasure to work with.
Once the roof was stipped, the Wasco EV2238EMT skylight was un-crated; all labels were removed and was staged at the front of the house for the installation.

The roofing crew removed the step-flashing around the old Roto deck mounted skylight unit and then proceeded to remove the old skylight.
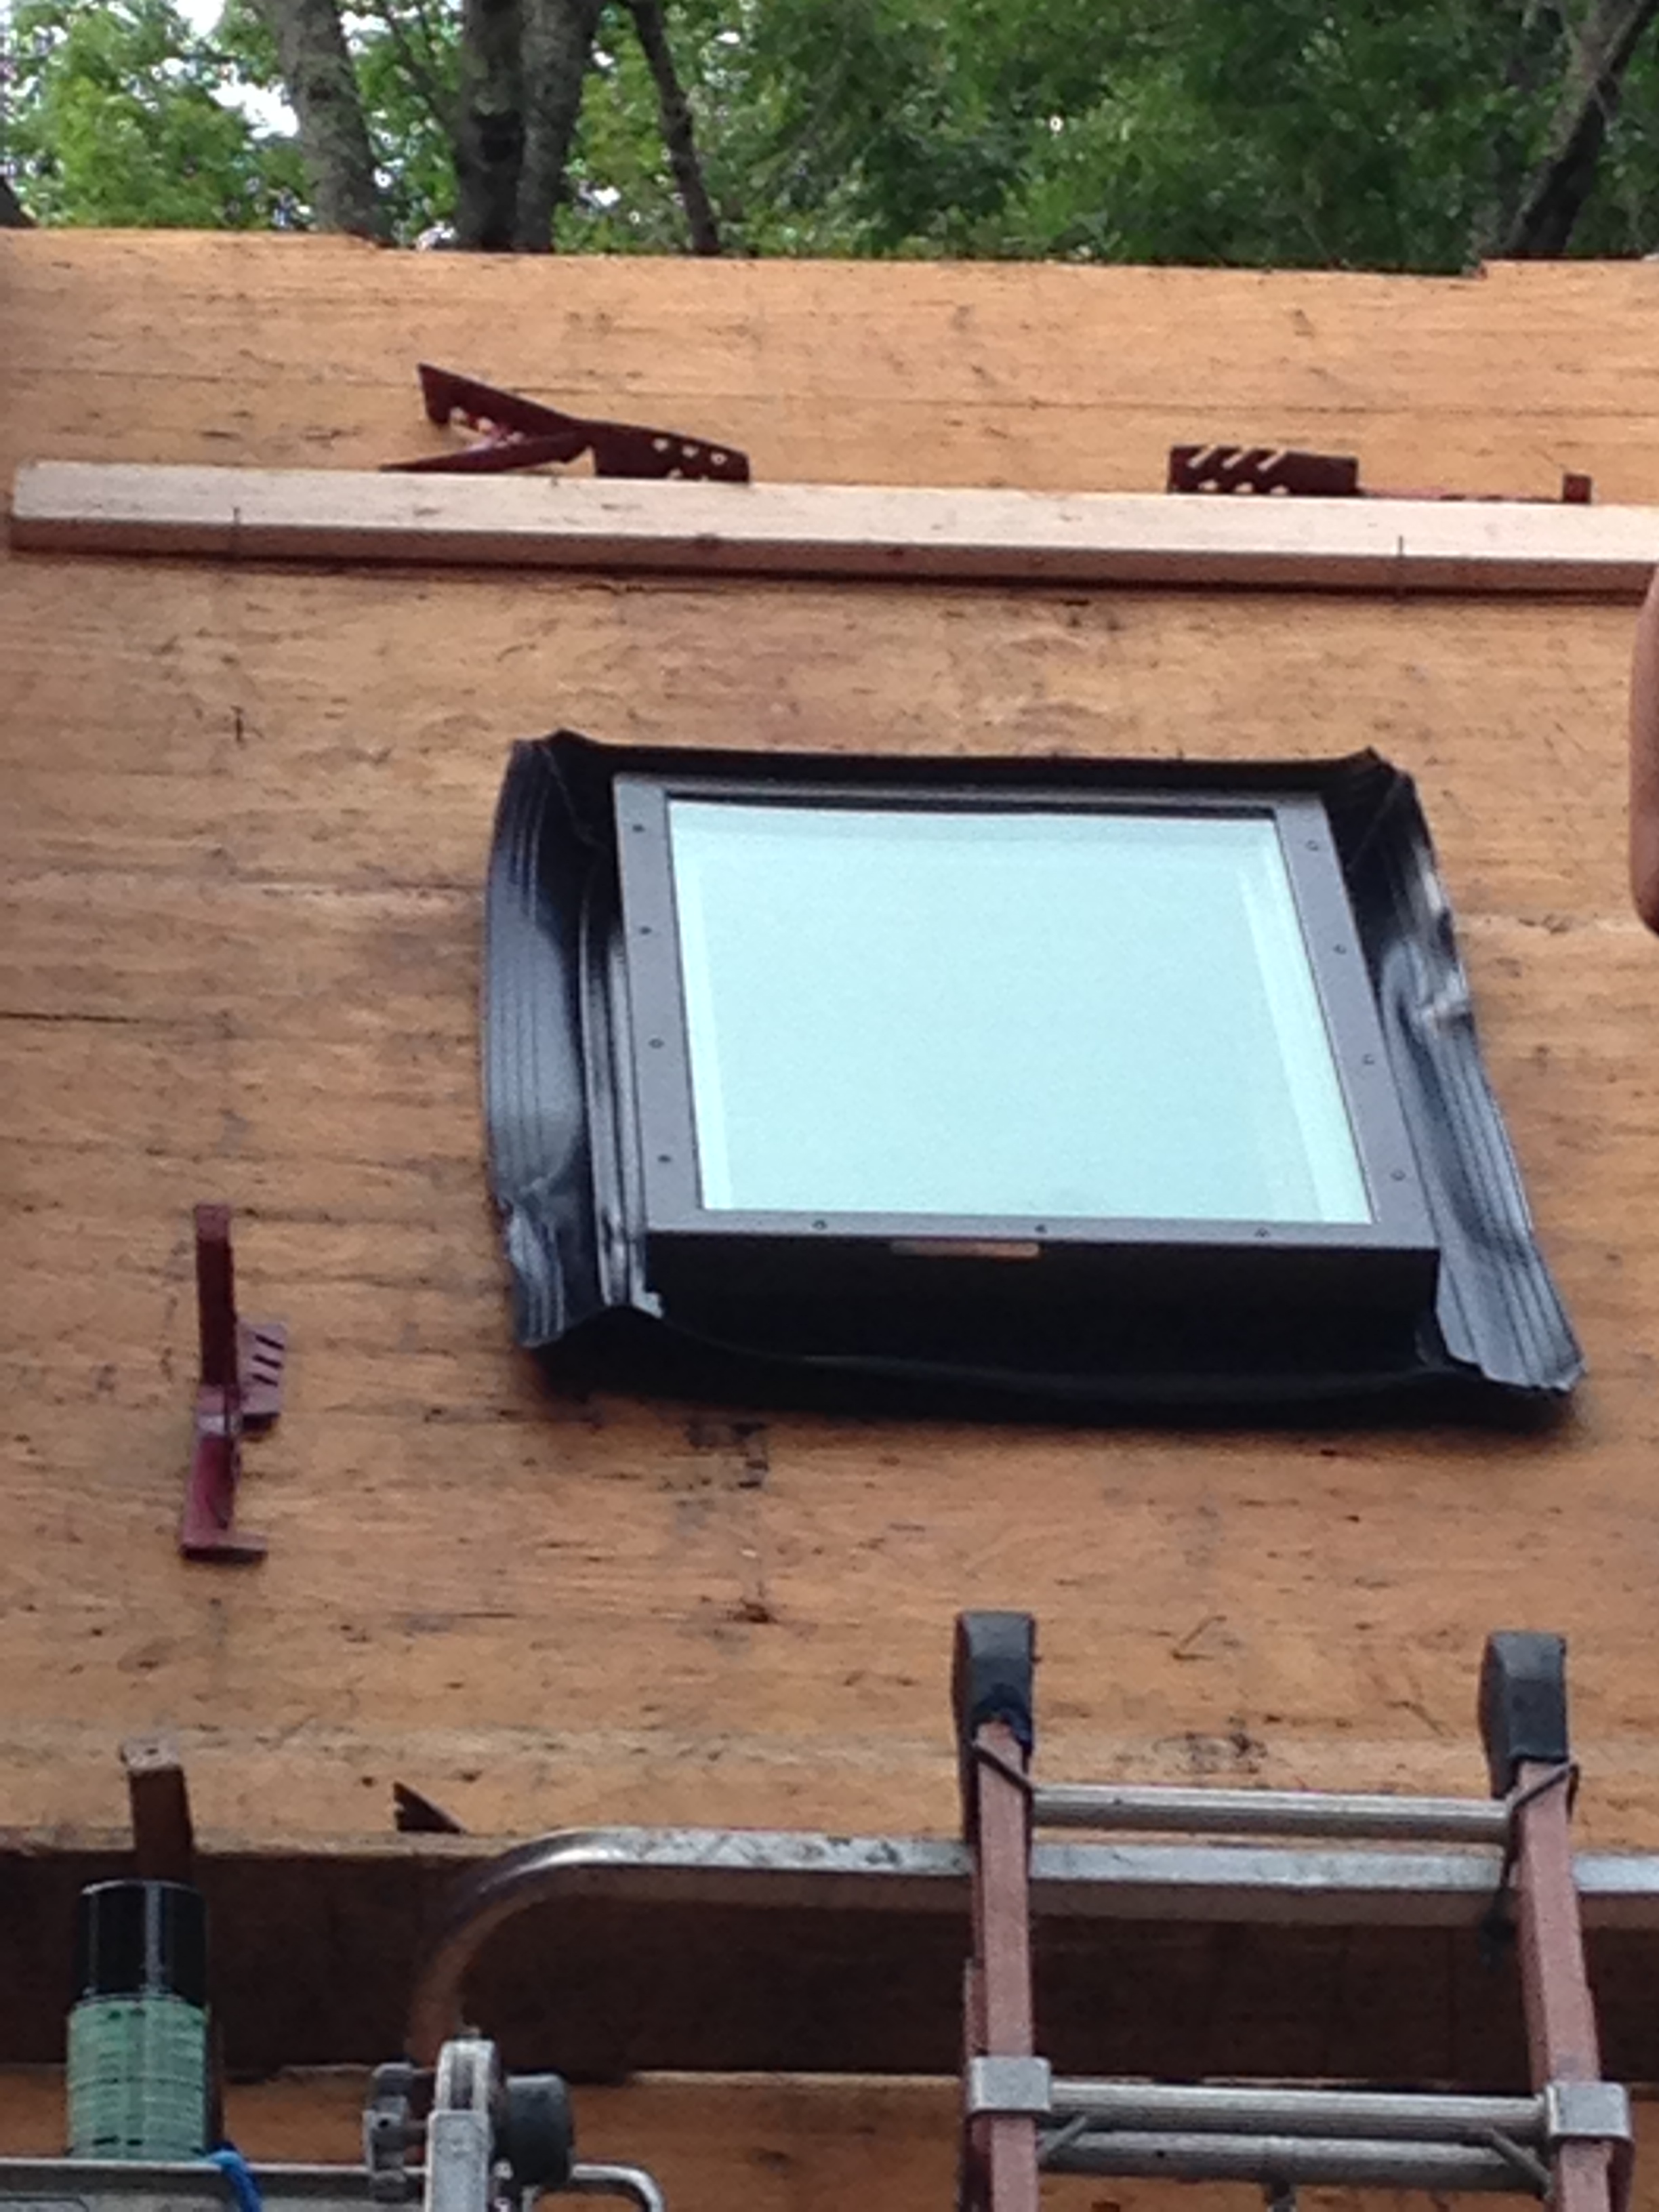
Once the old unit was removed, the Wasco deck mounted unit was set into position.
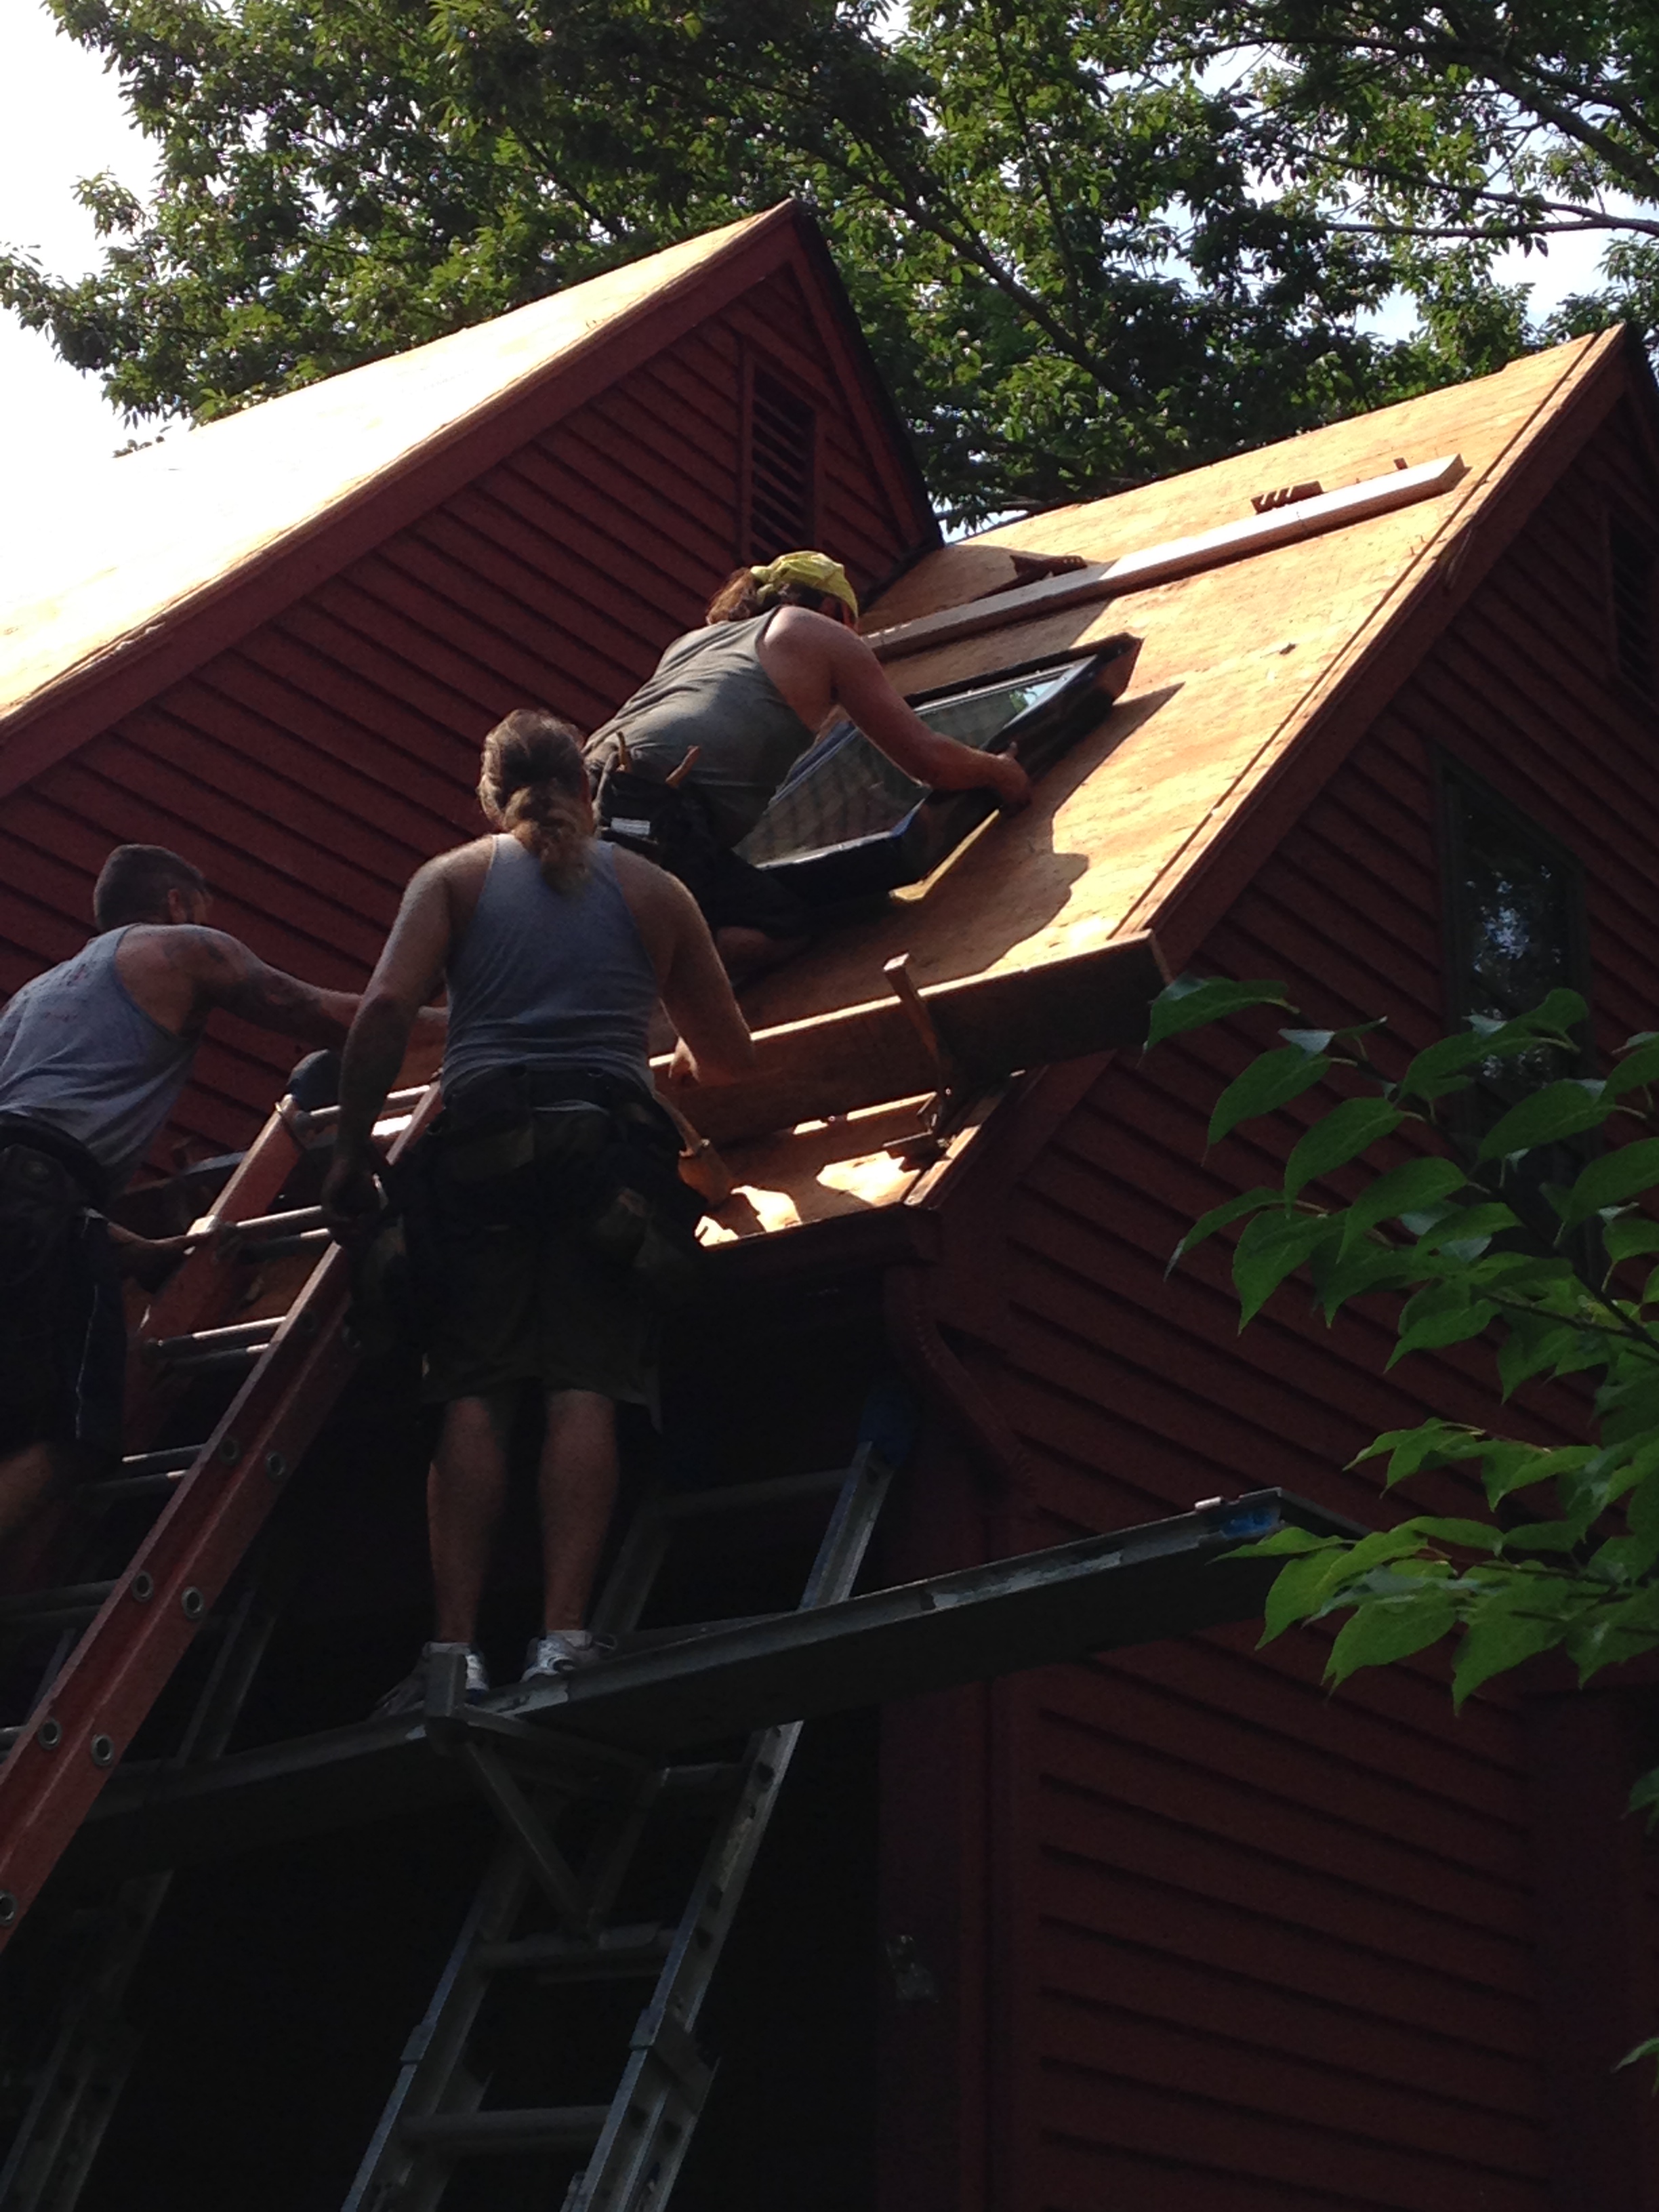
Two of us went into the house and eyeballed the position of the skylight from the interior prior to installing the clips. I placed a small piece of trim against the bottom of the framed opening to correctly space the skylight away from the opening as I plan to trim out the interior in the coming days. The actual installation was so quick (approximately 10 minutes) it was difficult to snap photos of each step of the process along the way.
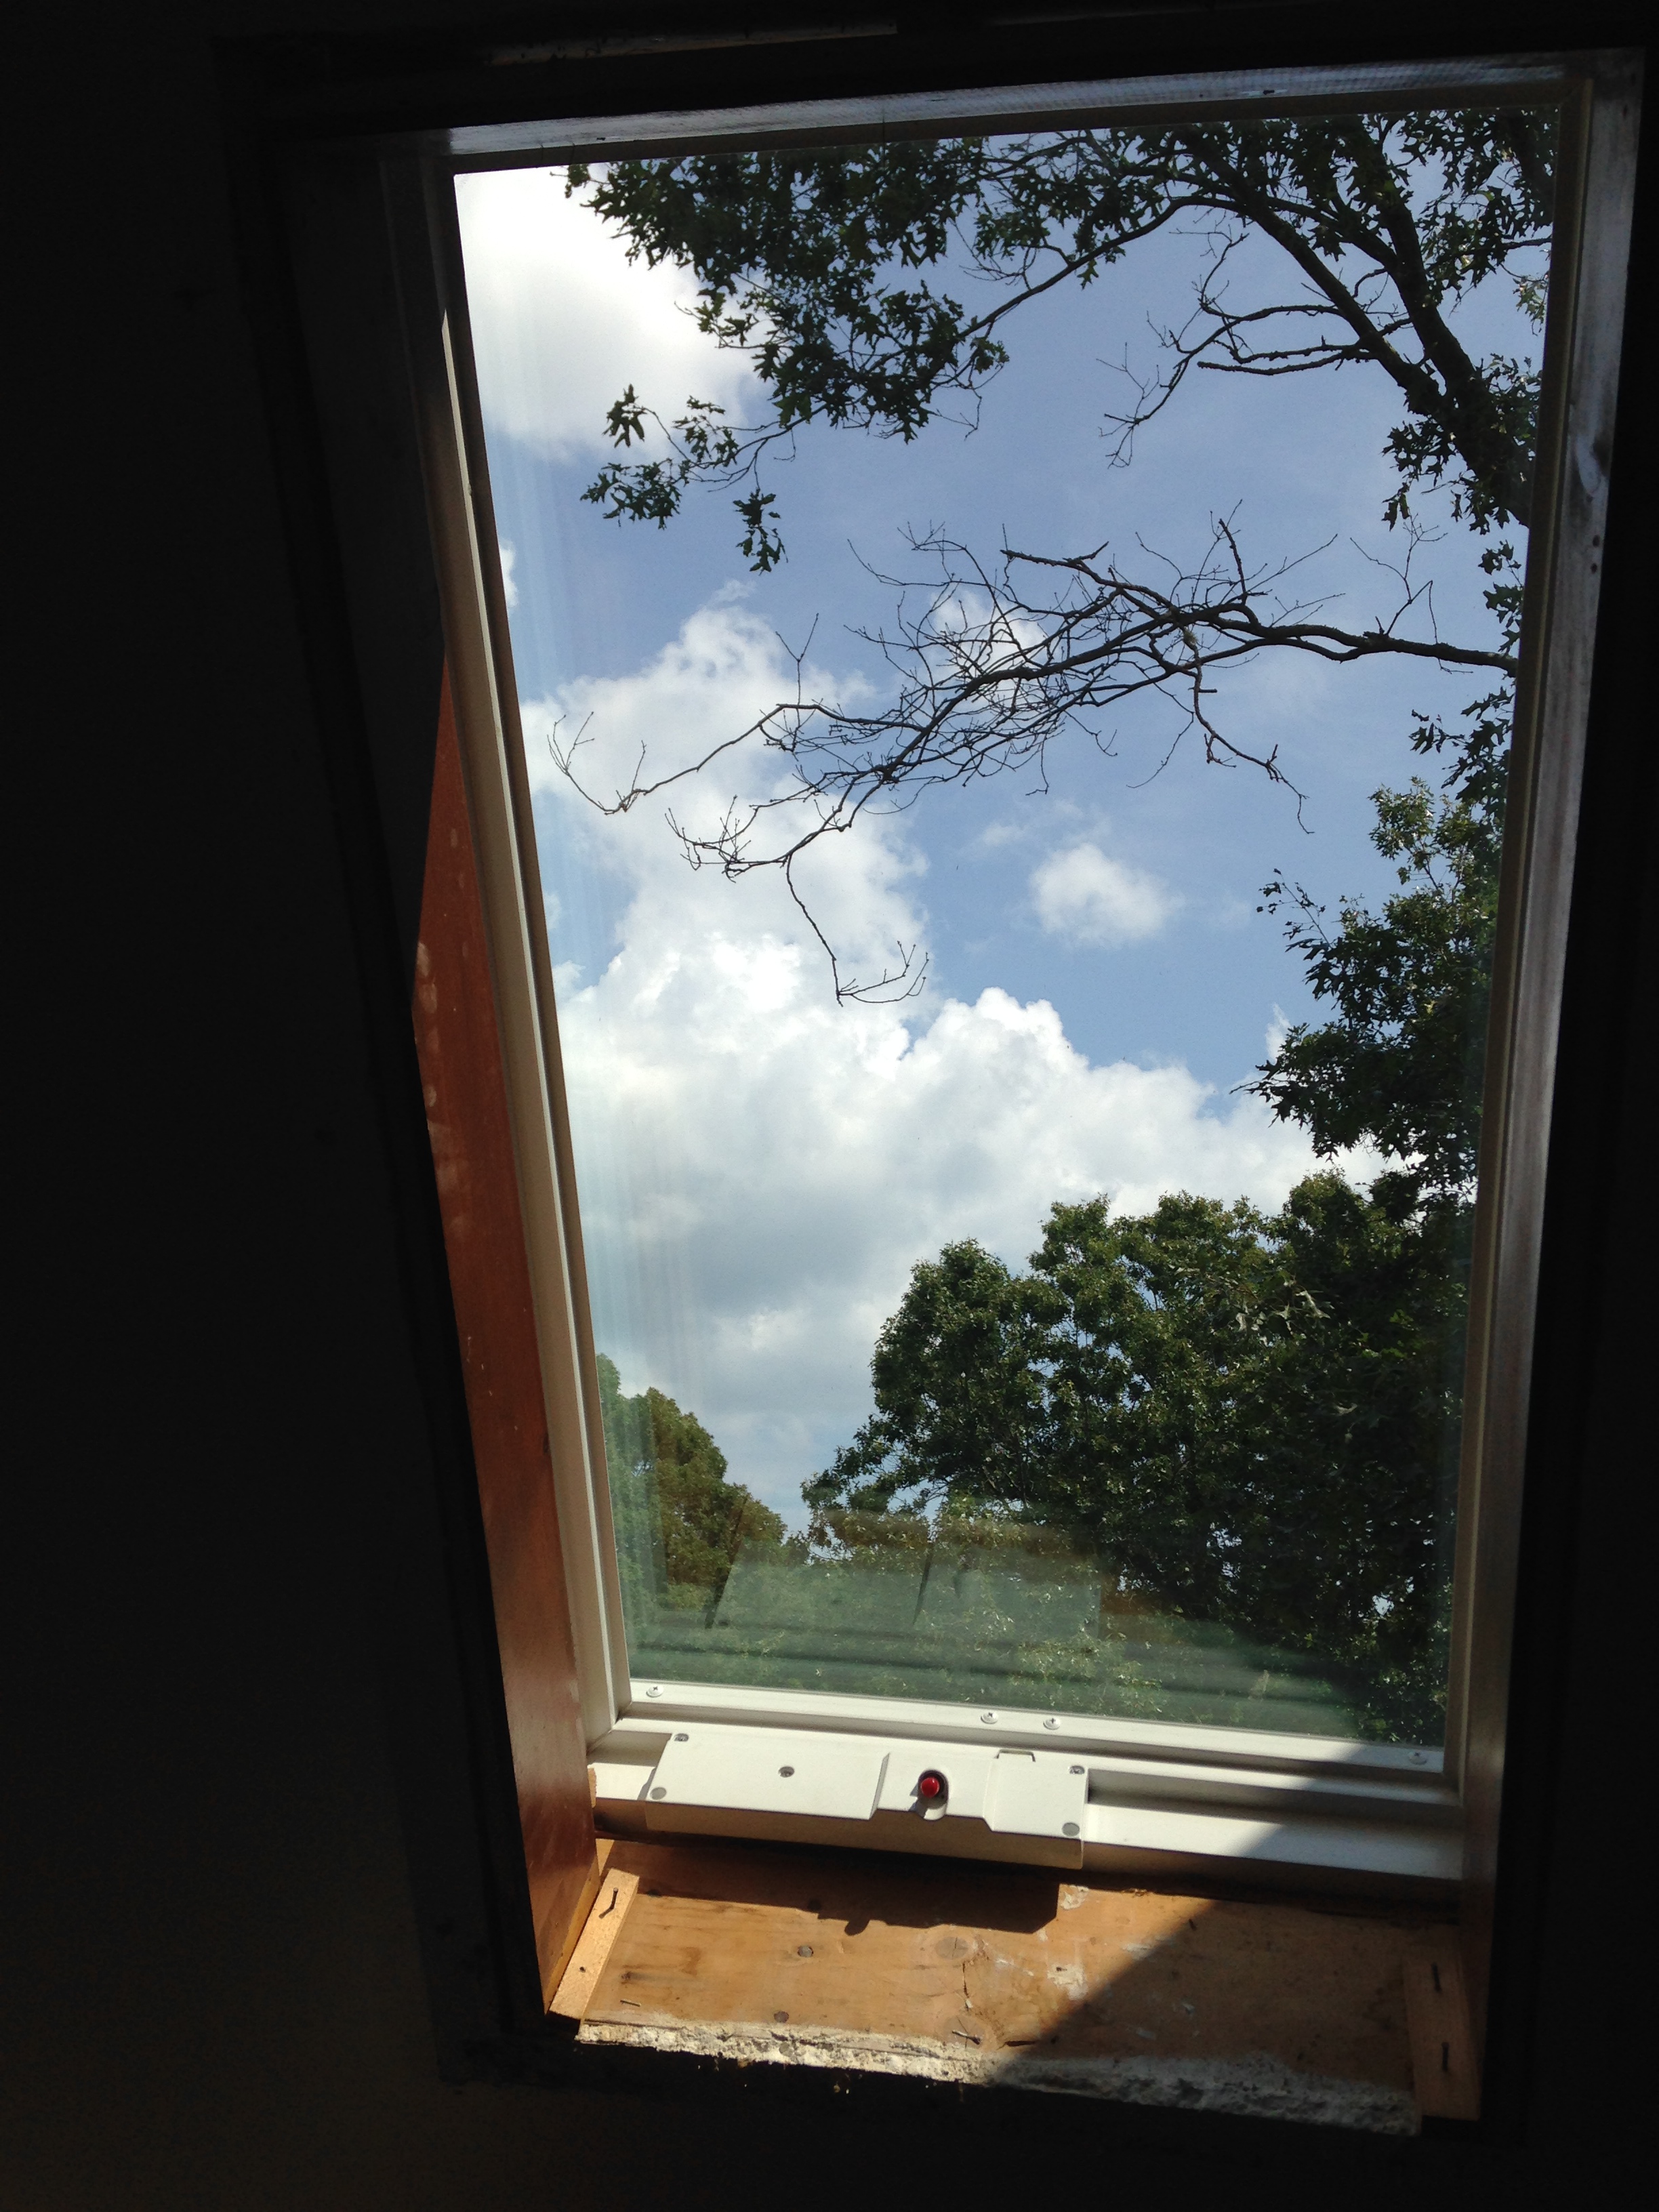
Not only are Wasco skylights incredibly easy to install, the deck mounted Wasco EV2238EMT also provides a bit of additional day-lighting in comparison to similar competitor skylights due to it’s edge to edge design.
After the new Wasco skylight was installed the roofing crew completed laying down ‘Ice & Water’ barrier, tar paper, drip edge, and shingles.
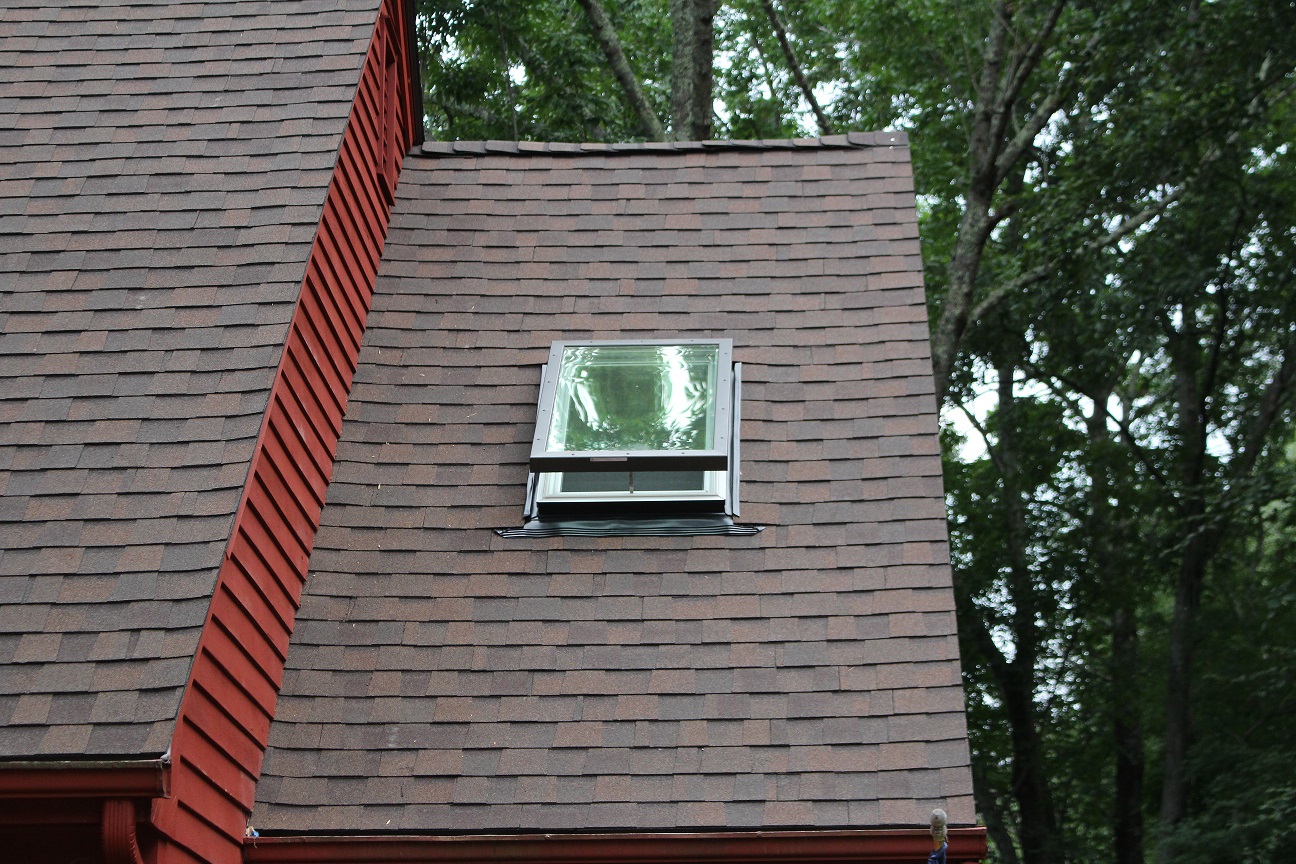
I could not be happier with the functionality of the skylight and the overall look of the new shingles and skylight installation.